Backup and Restore Overview
The Backup and Restore area exists for a simple reason: at some point, almost every Allsky installation needs a safe way to recover.
That might be because you are:
- about to make major changes and want a rollback point,
- moving Allsky to a new SD card or a different Raspberry Pi,
- undoing a settings change that caused unexpected behaviour,
- restoring module or overlay files after editing,
- or just doing routine maintenance properly.
Instead of manually copying files around and hoping nothing important gets missed, this part of the WebUI gives you a controlled way to protect and recover your Allsky environment.
Read this section before using backup or restore
Backup and restore operations can overwrite live files. If used incorrectly, they can replace working settings with older data. Read this overview and the detailed backup and restore guides before using these tools on a live system.
Where to find it
Open:
- System
- Backups
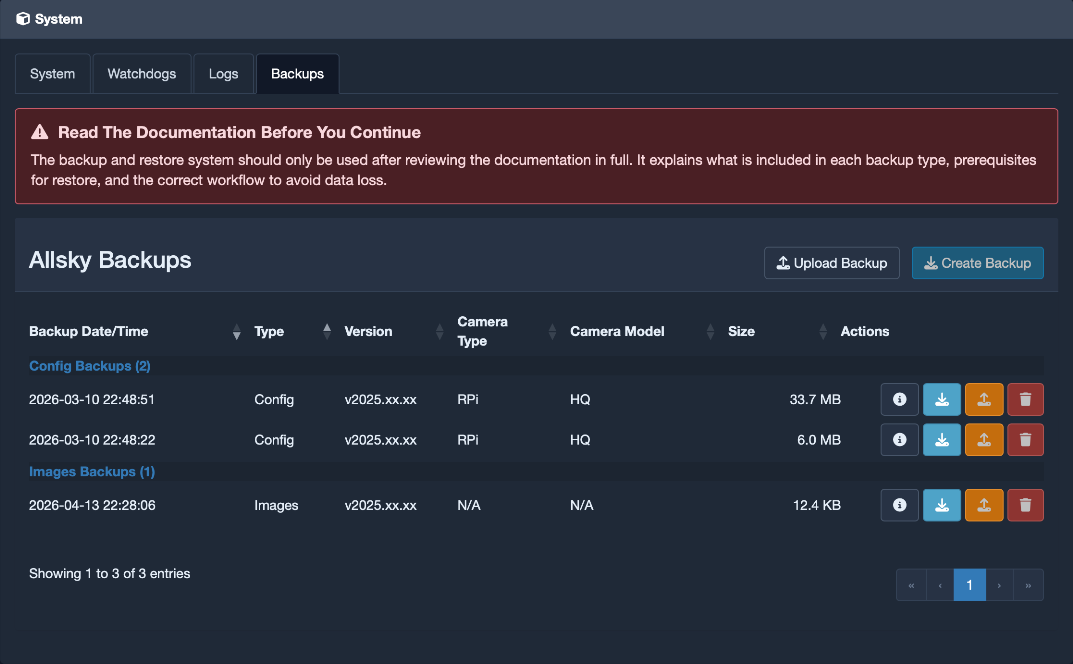
Screenshot: The System page with the Backups tab selected.
What you can do from this page
The Backups tab is your working area for everything related to archived recovery data.
From here, you can:
- create new backups,
- upload existing backup archives,
- inspect what a backup contains,
- download backups to another device,
- restore a backup,
- and delete backups you no longer need.
In other words, this page is both your backup creation screen and your recovery inventory.
Backup types
There are two backup types. They solve different problems, so choosing the right one matters.
Config backups
A Config backup is used when you want to preserve how Allsky is configured.
This type of backup includes the core configuration areas that control how your system behaves, and it can also include optional sections such as user modules and database-related content.
Use a config backup when you want to preserve things like:
- system behaviour,
- module settings,
- overlay data,
- camera-related configuration,
- and environment or config files used by Allsky.
Images backups
An Images backup is used when you want to preserve captured image data.
This can include every image folder or only selected date folders, depending on what you need.
Use an images backup when you want to preserve:
- historical captures,
- specific observation dates,
- or selected image sets before cleanup, migration, or storage changes.
Quick rule of thumb
If you want to preserve how Allsky is set up, create a Config backup. If you want to preserve what Allsky captured, create an Images backup.
Understanding the backups table
The table on this page is your backup inventory. It shows what is available to restore, download, or inspect.
Common columns are:
| Column | What it means |
|---|---|
| Backup Date/Time | When the archive was created. |
| Type | Whether the archive is Config or Images. |
| Version | The Allsky version the backup came from. |
| Camera Type / Camera Model | Useful for config restore compatibility checks. |
| Size | The archive size on disk. |
| Actions | Controls for info, download, restore, and delete. |
Note
Image backups show the camera fields as N/A because they are image archives, not camera configuration archives.
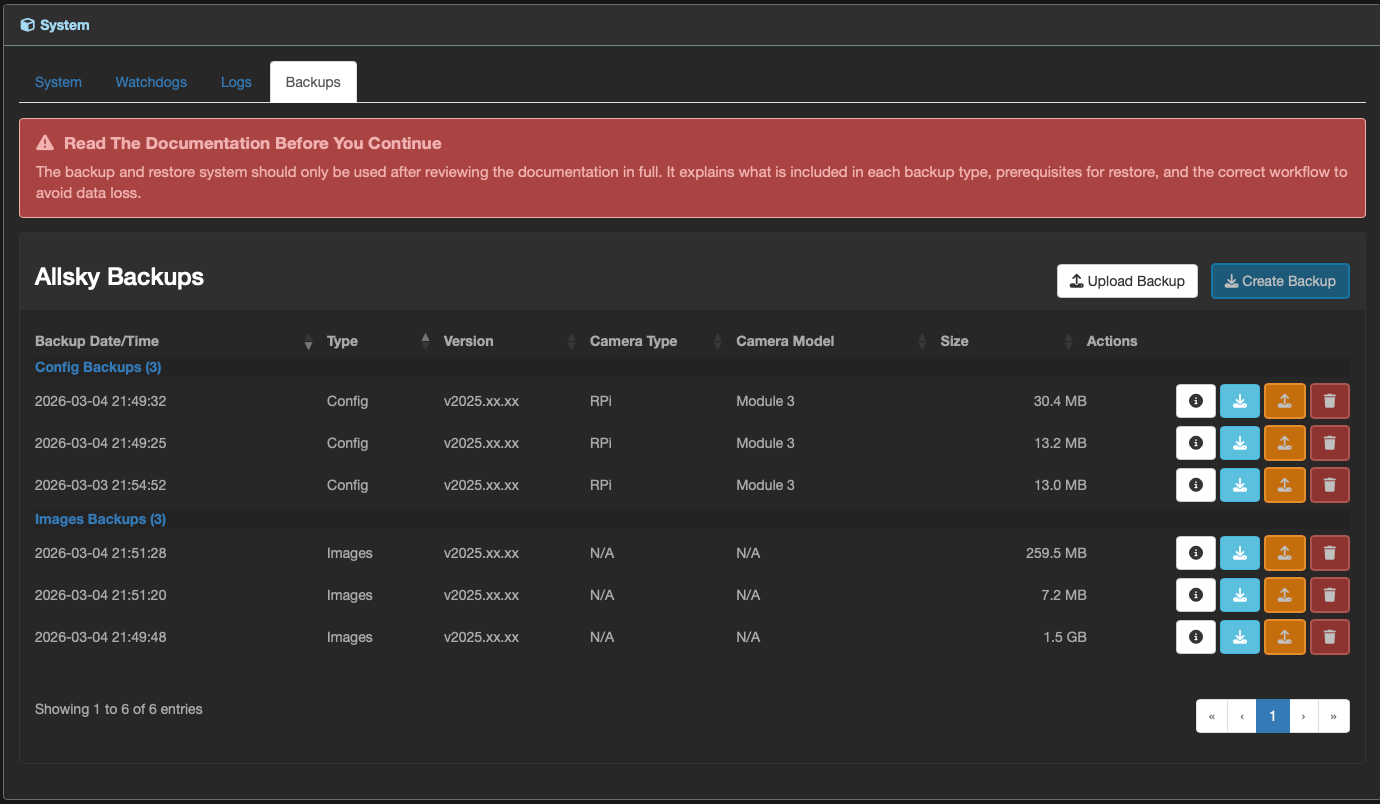
Screenshot: Backups table grouped by backup type with action icons.
What the row actions do
Each backup row includes several action icons. These are meant to help you inspect first and restore second.
| Action | Use it for |
|---|---|
| Info | Open a detailed summary of what is inside the backup. |
| Download | Save the archive outside the device. |
| Restore | Open restore checks and restore options. |
| Delete | Permanently remove the backup archive from local storage. |
If you are unsure whether a backup contains what you need, start with Info. It is the fastest way to confirm the contents before you begin a restore.
How backup metadata is stored
To keep the WebUI responsive, backup metadata is stored in two places:
- inside the archive as
metadata.json, - and in a sidecar metadata file named
<backup_name>.json.
The sidecar file is used first because it is much faster to read. If it is missing, Allsky reads the metadata from inside the archive and then caches it for later use.
This design is especially useful for larger backups, where repeatedly opening the archive would be slower.
How restore safety works
Restore is intentionally not a blind one-click action.
Before anything is written back to the system, Allsky performs checks and shows you what will happen. Depending on the backup type and the restore mode you choose, those checks can include:
- camera compatibility validation,
- required module validation,
- selected section, folder, or file validation,
- and permission or ownership reapplication logic.
You must then explicitly confirm the restore.
What happens after a restore
Once a restore starts, Allsky gives you feedback at each stage so you can see what is happening.
After the restore:
- a progress modal shows stage-by-stage updates,
- a completion modal summarizes exactly what was restored,
- and a restore log is written to
config/logs.
That gives you both immediate confirmation and a written record for troubleshooting later.
A practical workflow that works well
If you use Allsky regularly, this is a sensible pattern:
- Create a config backup before making significant changes.
- Create image backups for important nights or before cleanup.
- Keep more than one restore point.
- Download critical backups off the device.
- Use Info and review the restore checks before every restore.
Why this matters
A backup only helps if it contains the right data and is still available when you need it. Keeping more than one backup, and keeping important ones off-device, gives you much better recovery options.