ESP32-P4 AllSky Display
The ESP32-P4 AllSky Display project turns an ESP32-P4 round display into a dedicated viewer for your all-sky camera images. For Allsky users, that makes it a very appealing companion project: instead of checking the WebUI or a website every time, you can have a small standalone display showing current images and cycling through multiple views.
This is not just a static picture frame. The project is designed as a capable, configurable display client with touch input, web-based setup, hardware-accelerated image handling, and optional Home Assistant integration.
For anyone who likes the idea of a desk display, observatory display, or wall-mounted status screen for an Allsky installation, it is an impressively complete project.
What It Is
At its core, this project is a firmware and configuration system for ESP32-P4 based touchscreen displays, designed to fetch and present all-sky camera images in a polished and flexible way.
The project supports:
- multi-image display and cycling,
- touch interaction,
- hardware-accelerated image scaling and rotation,
- web-based configuration,
- MQTT and Home Assistant integration,
- over-the-air firmware updates,
- Wi-Fi setup through a captive portal.
That combination is what makes it more than a novelty display. It is a proper companion device for an Allsky system, with enough flexibility to fit different ways of working.
Why It Is Useful For Allsky Users
Most Allsky users end up wanting quick access to their current sky image somewhere other than the main Raspberry Pi interface. Sometimes that is for convenience. Sometimes it is for display. Sometimes it is because a dedicated screen is simply a nicer way to keep an eye on the camera than opening a browser again and again.
This project fits that need very well.
It gives you a dedicated display that can:
- show your latest all-sky image,
- rotate through multiple image sources,
- be controlled by touch,
- sit on a desk or shelf as a standalone viewer,
- integrate into a wider home automation setup.
That means it can be as simple or as advanced as you want. You can use it as a clean single-purpose display, or you can make it part of a more automated monitoring setup.
Supported Hardware
According to the project documentation, the firmware is intended for ESP32-P4 based displays and has been tested with the following Waveshare round touchscreen units:
- Waveshare 3.4-inch ESP32-P4 Touch LCD at 800×800
- Waveshare 4.0-inch ESP32-P4 Touch LCD at 720×720
The project notes that both displays are supported, and one of the particularly nice details is that newer firmware allows the display type to be selected in the web interface after flashing rather than requiring a separate firmware build for each screen size.
That makes the project more practical for normal users. It reduces friction, makes testing easier, and lowers the risk of flashing the wrong build for the screen you have on hand.
The project also calls out the broader hardware requirements expected by the firmware, including:
- ESP32-P4,
- Wi-Fi,
- DSI display support,
- GT911 touch support,
- PSRAM.
Main Features
The repository highlights a strong set of features, and these are worth understanding in practical terms rather than just as a checklist.
Multi-image display
The display can cycle through up to 10 image sources automatically or through API control.
For Allsky users, this is especially useful because you may not want to show only one image. You might choose to rotate through:
- the current live image,
- a processed image,
- a latest keogram,
- a weather or sensor graphic,
- another related camera source.
That gives the display much more value than a single hardcoded image refresh.
Flexible update modes
The project supports both automatic cycling and API-triggered refresh.
This means you can either let the display run on its own schedule or tie it into a wider automation system where external events control what is shown and when it updates.
Runtime display selection
The firmware supports switching between the 3.4-inch and 4.0-inch display types through the web UI.
This is a genuinely practical feature because it avoids needless recompilation and makes the project easier to deploy across different hardware variants.
Brightness control
The project supports three brightness approaches:
- manual,
- MQTT-based automatic control,
- Home Assistant driven control.
That makes the display easier to live with in real environments. A bright always-on display might be fine in daylight but annoying at night, especially in an observatory or bedroom-facing room. Flexible brightness control makes the device more usable as part of an actual setup rather than just as a demo.
Hardware acceleration
The project uses the ESP32-P4 PPA hardware for image scaling and rotation.
In practice, that matters because this is what makes higher-resolution image display feel responsive rather than sluggish. The repository specifically calls out hardware-assisted rendering performance, which is one of the reasons this project feels more polished than a simple embedded image viewer.
Per-image transforms
Each image source can have its own scaling, offset, and rotation settings.
This is particularly useful for all-sky imagery because not every source will fit the display in the same way. Some images may need centring, some may benefit from scaling, and others may look better with a different crop or orientation.
Touch controls
The display supports direct touch interaction, including tapping to navigate and double-tapping to toggle modes.
That gives the device a much better standalone feel. You are not completely dependent on external control or configuration after setup.
Web configuration
The device includes a web interface for configuration.
According to the project README, you can access the configuration interface at:
http://[device-ip]:8080/
From there, the project says you can configure things such as:
- image source URLs,
- MQTT and Home Assistant settings,
- display transforms and brightness,
- cycle intervals.
This is one of the most important usability features in the whole project. It means the display can be configured like a proper appliance rather than like a firmware hack that must be rebuilt for every change.
OTA updates
The project supports wireless firmware updates with automatic rollback.
That is exactly the sort of feature that makes an embedded project easier to keep using over time. Once a display is mounted or positioned permanently, over-the-air updates are much more convenient than repeated USB reflashing.
Easy initial setup
The project also includes captive-portal Wi-Fi setup with a QR code, which makes first-time connection much easier than projects that require serial configuration or hardcoded credentials from the start.
Home Assistant Integration
One of the strongest parts of the project is its Home Assistant support.
The repository describes it as:
- Home Assistant ready,
- using MQTT auto-discovery,
- providing control over brightness, cycling, image selection, transforms, and system actions.
For users who already run Home Assistant, this is a major advantage. It means the display does not have to live as an isolated gadget. It can be folded into the rest of your automation environment and controlled like a proper smart device.
That opens up useful possibilities such as:
- changing brightness automatically by time of day,
- switching images or modes based on other automations,
- using the display as part of a sky-monitoring dashboard,
- integrating it into a broader observatory or home display setup.
Even if you do not use Home Assistant today, it is still a reassuring sign that the project has been designed with integration in mind rather than only as a standalone viewer.
Installation And Firmware Notes
The repository provides both releases and source code, so the project can be approached in two broad ways:
- flash a prebuilt release,
- compile from source if you want more control.
The README specifically notes that for initial USB flashing you should use the Factory firmware image rather than the OTA image. That is the kind of detail worth paying attention to, because it avoids confusion when first setting the device up.
The project’s quick-start guidance also emphasises that the same precompiled firmware can support both the 3.4-inch and 4.0-inch screens, with the final display type chosen later in the web interface. That is a nice quality-of-life feature and reduces the chance of setup mistakes.
Optional Physical Accessories
The repository also links to optional 3D-printed stands for both supported display sizes.
That is worth mentioning because small display projects often look best once they have a clean stand or mount rather than simply being left loose on a desk. If you plan to use one of these displays as a permanent viewer, the optional printable accessories make the project feel more complete.
Practical Advice For Allsky Users
If you are considering this project for your Allsky setup, a sensible approach would be:
- Decide whether you want a simple standalone viewer or a Home Assistant integrated device.
- Choose the display size that best suits where it will live.
- Start with one or two image URLs first rather than trying to configure every possible view immediately.
- Use the web interface to get the basic layout, scale, and brightness right before adding automation.
- Add MQTT or Home Assistant integration only after the display is already working well as a simple viewer.
That step-by-step approach usually makes projects like this much easier to live with. The feature set is rich enough that it is better to make the basics solid first and then build outward.
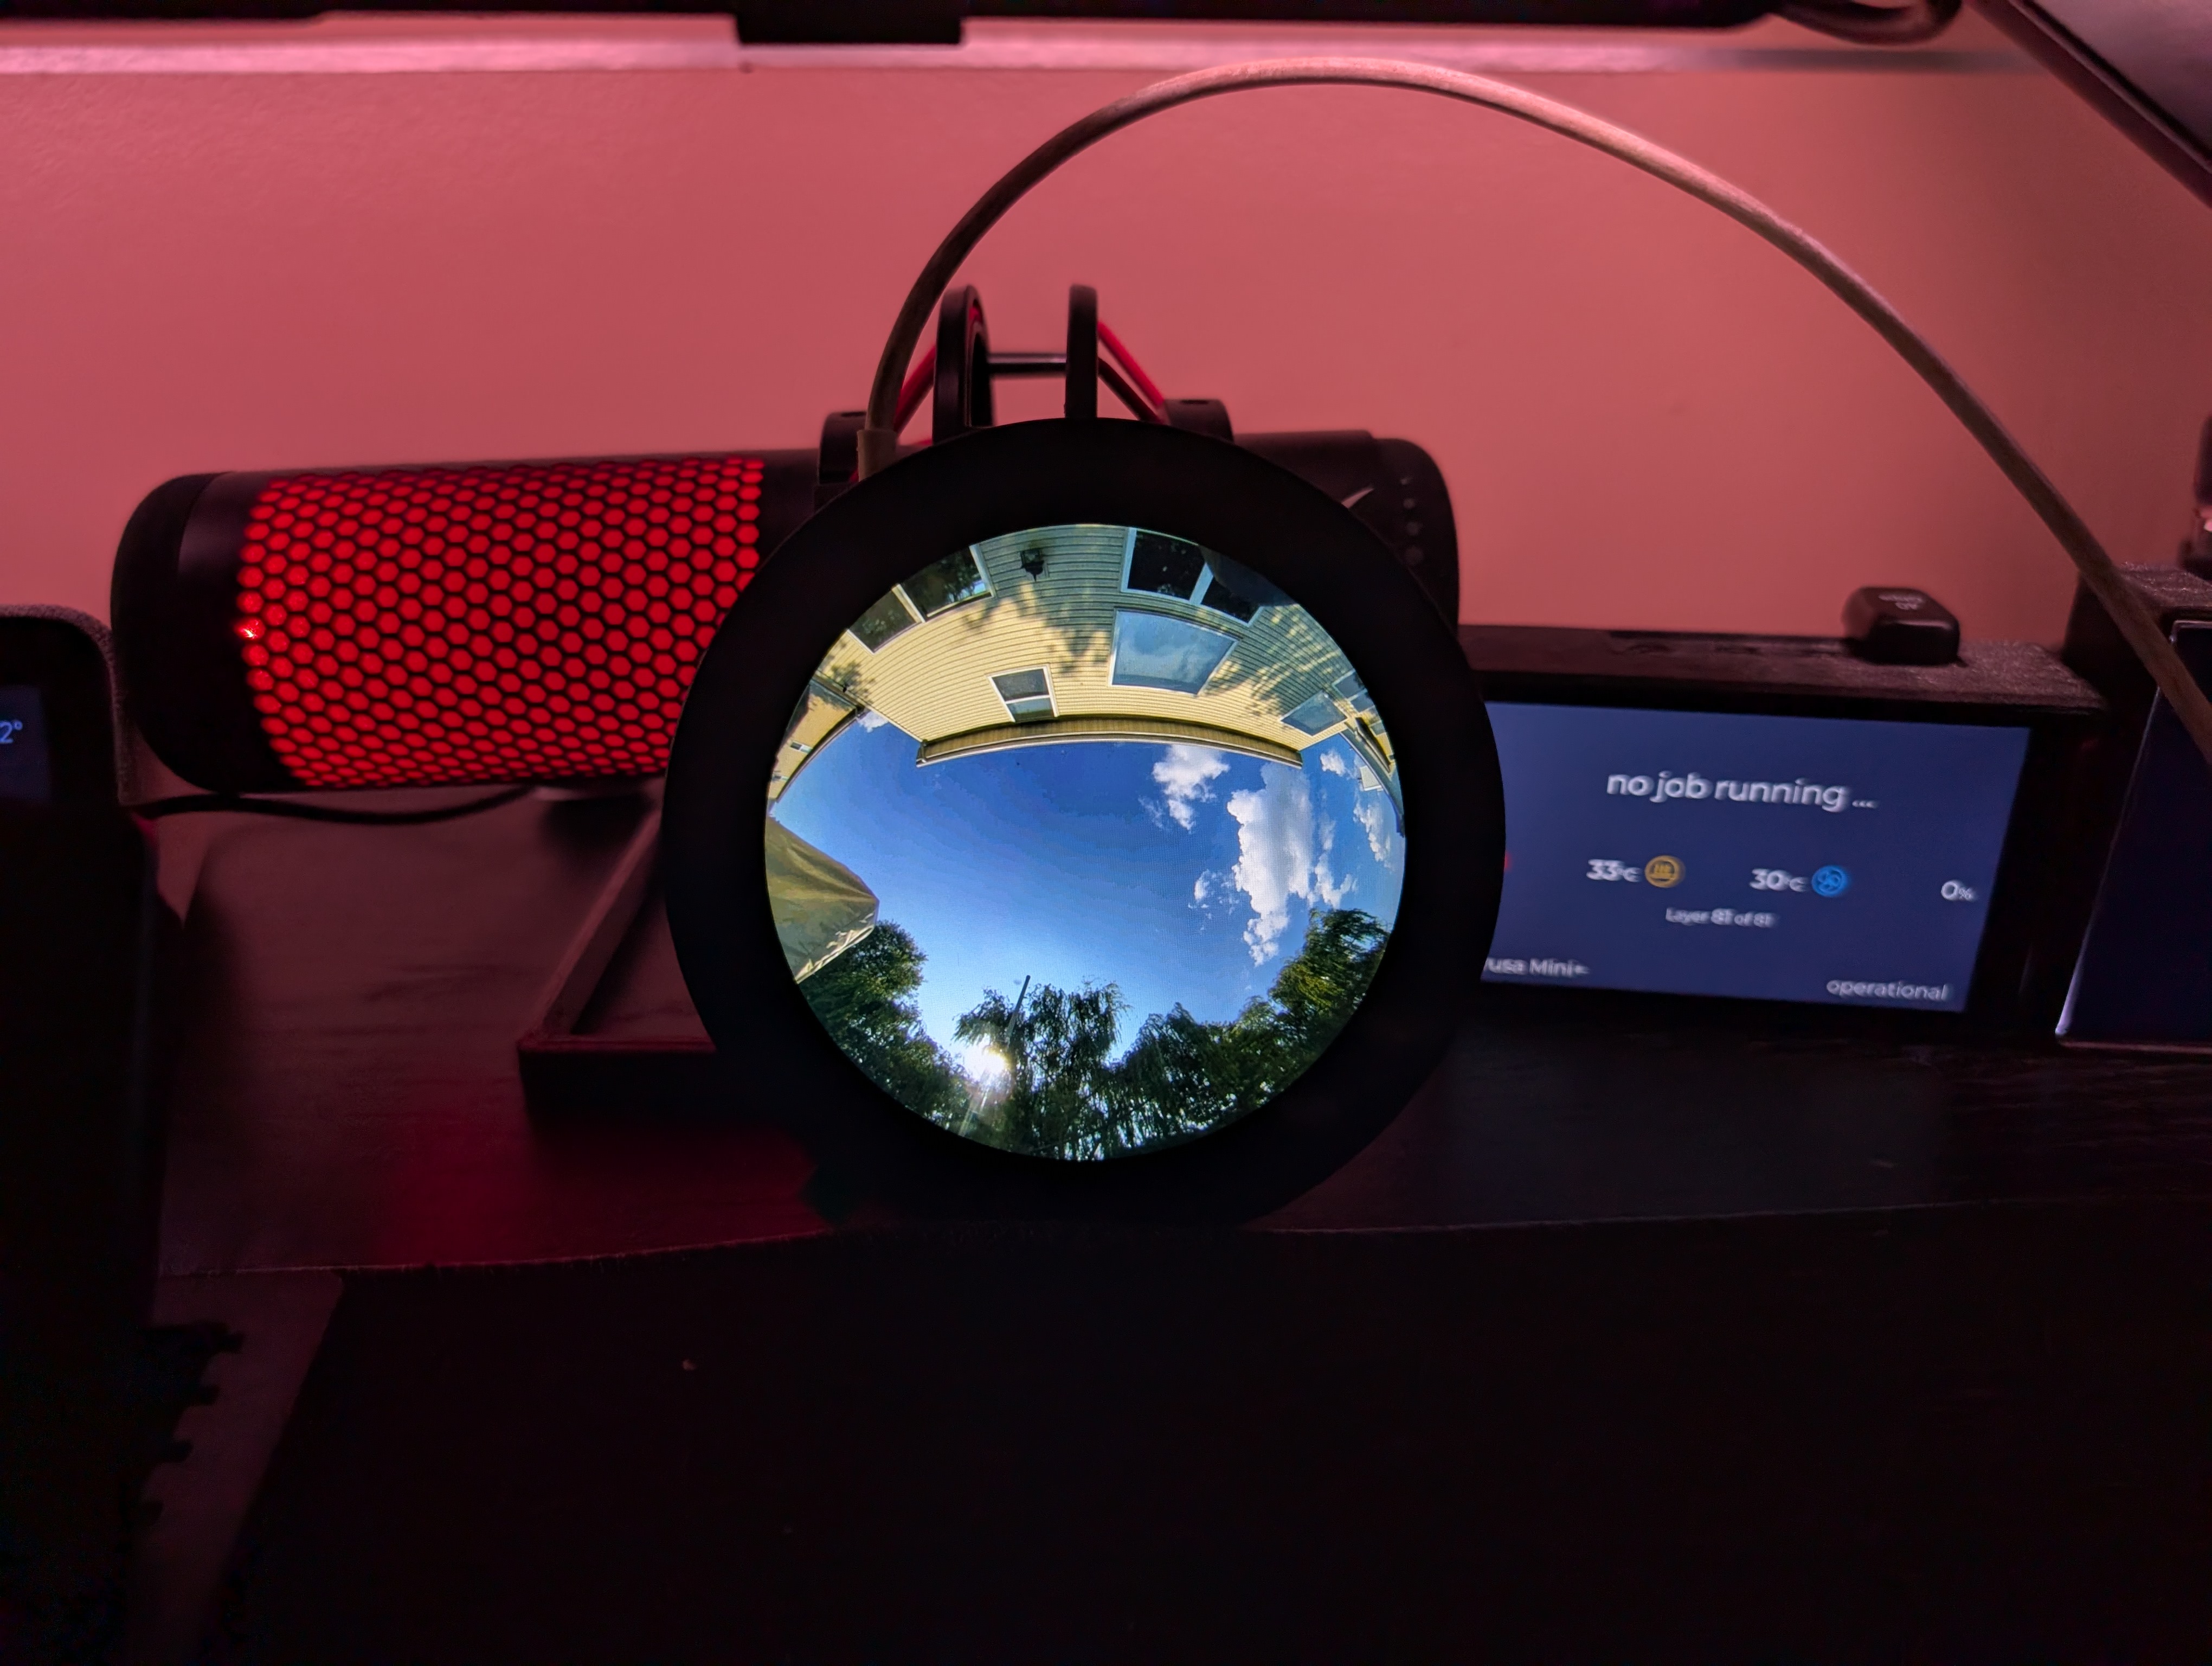
A running ESP32-P4 display showing all-sky imagery
Summary
The ESP32-P4 AllSky Display project is a strong companion device for an Allsky installation. It combines dedicated hardware, a polished firmware feature set, touch control, web-based configuration, and optional Home Assistant integration in a way that feels genuinely useful rather than experimental.
If you want a compact dedicated display for your Allsky images, this is one of the more complete projects in that space. The combination of supported Waveshare round displays, multi-image handling, easy setup, and automation support makes it especially attractive for users who want something that is both practical and enjoyable to use.